TL;DR: The Image takes a lot of time to load, lowering the load speed of a website. It is crucial to optimize web images for fast load speed. Image compression tools like Image Optimizer Pro are available for optimizing images for the web and enhancing your website performance.
Images are a vital part of any website, but on the other hand, images are one of the main causes for slow website load times. According to studies, on average, 50% of the bytes are image bytes. On top of that, image bytes have increased by almost 5 times on a desktop page and over seven times on the median mobile page, since 2011. Thus, it’s important to optimize images for the web, resulting in a site speed win. Optimizing site images includes finding a balance between image size and quality in order to enhance user experience.
From creating effects and visualizing the content to creating a break between the paragraphs, images and graphics play an important role in website designs.
Images, on one hand, show the enhanced version of your portfolio while building a better online experience for the user. Having great visuals and images is good, but higher resolution means larger file sizes, which can cause the site to load slowly. But the overall motive of a business or developer is to build a website that creates a better experience for the users or visitors. The ultimate motive is to rank higher and increase sales, but it seems difficult to do with a slow site.
What is image optimization?
Basically, image optimization is the action of reducing the image sizes but without losing the image quality. The purpose is to reduce the amount of data used to download the images without hurting the user engagement. You can optimize images for the web in the creation phase by using Photoshop as well. Otherwise, there are many image compression tools available, like Image Optimizer Pro, which can be used to compress images without sacrificing the quality of the images.
Why optimize images for the web?
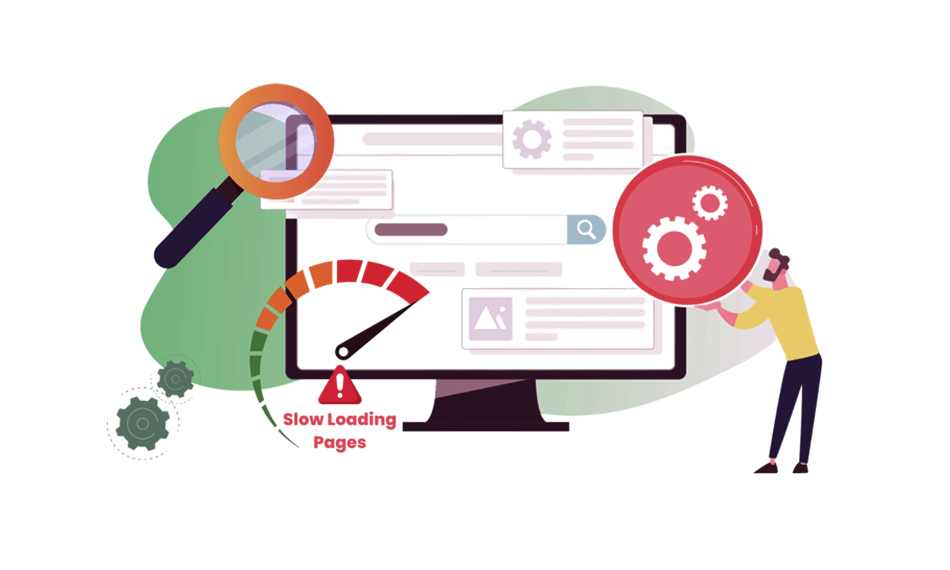
As you know, it’s important to ensure that your website loads in two seconds or less in order to thrive in this competitive digital world. People pay very little attention to the fact that web images are the most common factor reducing your website’s loading speed. Even if you are managing your website on the best hosting servers like WordPress, heavy images will still slow down your website, causing performance lag. You can optimize images for web using methods like, lazy loading images or selecting the best image format for web.
Secondly, image optimization is important for a reason that is directly connected to your business’s bottom line. Images not only slow down your website but also fill up the server storage of your site. In most of hosting, there is no unlimited space, but the hosting providers provide a bandwidth limit per plan and your images occupy that space quickly.
If your site resources exceed the limit, then you have to pay an overcharge fee or else excessive overages may cause shut down your website.
Now we have mentioned enough reasons why you have to optimize images for web . Now let’s find out how to do this. Here we’ve provided a descriptive guide on web image optimization.
How to optimize images for the web
1. Benchmark your current site speed
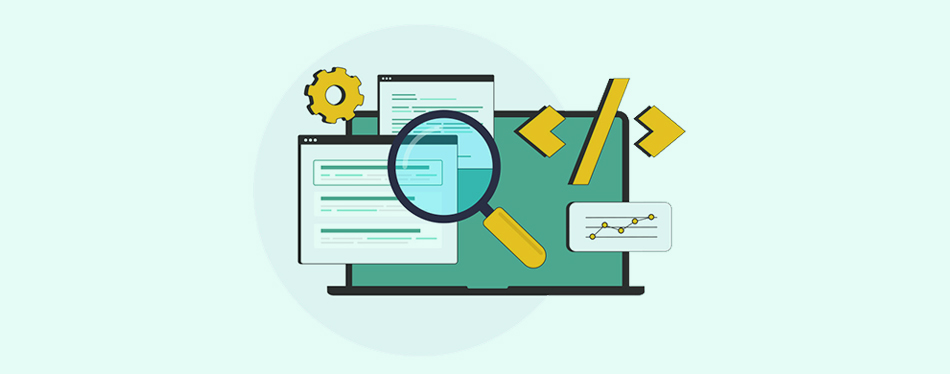
For comparing and analyzing your site’s performance, first, you should check your site’s current speed. Various speed testing tools are available that provide you with quick reports and actionable insights for your site. So, before you start to optimize images for web, check your website’s current performance to make a comparison after. Some of the popular tools to check your current site speed are:
These tools are so simple beyond what you think because you just need to put your site’s URL and email address into these website testers to get a quick report. WP Engine’s Website Tester is also a website performance checking tool specifically designed for WordPress sites. This tool shows a breakdown of your site performance along with the insights and room for improvements from a page speed and loading perspective.
2. Choose The Right Image Format
Now, this is a very crucial step when you optimize images for the web. When you’re done creating images, you have the option to specify the file type before saving or exporting. The most suitable and best image format for the web is JPEGs, then PNGs, and GIFs. They have their own pros and cons, you’ve to select the format according to your needs.
- Image compression tools like Image Optimizer Pro can help you with this.
- If your image has tons of colors and you want to preserve the details of your image, this is a suitable format. Note that you can use PNG if you need a transparent background.
- You have to be selective with the GIFs, as it supports only a few colors. It is the third most suitable format for files.
- Lastly, the next-gen format is WebP, that can reduce the quality of your images without sacrificing quality a lot.
3. Resize your images before you upload
Resizing or cropping your images before upload can save your disk space and reduce your site loading time too. Especially, if you’re working with the raw images like DSLR images, this step is crucial as they are in much higher resolution than you need.
Image-editing software like Photoshop can work well to resize your images. Or if you need tools, then some of the simple tools you can use for Macs are Preview, for Windows are Paint and Canva, a browser tool will work well.
4. Add Alt Text for Images:
To improve accessibility, always write clear and descriptive alt text (alternative text) for every image so screen readers can interpret the content accurately. It appears in case the images fail to load. Alt text also helps search engines understand what the image represents, contributing to stronger SEO performance. Make sure to include relevant keywords naturally, without keyword stuffing or over-optimization. Well-written alt text not only supports visually impaired users but also enhances your website’s visibility and overall search rankings.
5. Automate Image Optimization With Tools
Optimizing images manually can be a time-consuming process, especially for websites that handle large volumes of media. Automating this workflow with professional image optimization tools allows you to streamline essential tasks such as compression, resizing, and format conversion. These tools maintain visual quality while significantly reducing file sizes, resulting in faster loading times and improved overall website performance. Implementing automated optimization ensures consistency, efficiency, and better long-term site speed management.
Here are some recommended tools to optimize images for the web:
- Image Optimizer Pro – A robust tool that automates compression, resizing, and WebP/AVIF conversion while preserving quality. Image Optimizer Pro provides the option to choose between lossy and lossless compression and supports bulk optimization, saving your time.
- Optimizilla – An online tool, great for efficient optimization and compression without a major loss in quality.
- Kraken.io – Offers fast, bulk optimization with lossy and lossless options.
- Imagify – User-friendly tool with multiple compression levels and WebP support.
6. Use the “blur up” technique to load a Lower Quality Image first
After you are done with image optimization steps, there may be some large-sized files or images that are slowing down your site speed. If there is a case like that, it’s recommended to optimize your site load too, with image optimization, so that it creates a feeling for your user that media files are loading fast. You can load a Lower Quality Image (LQI) first, before loading them in higher resolution, so that your user will not have to stare at a blank page while your site files are loading. This is called the “blur up” effect, presenting the user with the perception of faster load times; however, technically, files are loading in the usual time.
7. Lazy load your site images
Likewise, the “blur up” technique there is one more popular trick that gives your pages an appearance of faster loading images while reducing the load time.
Let’s understand it this way, simply! When a user visits your site and starts scrolling, they will start from the beginning of the page and will take some time to scroll through the entire page. Reaching the last will take more time if they get engaged with your content or read it. You can use this time for lazy loading images. Instead of uploading the entire page’s images at once, you can use the method of lazy loading the images on your site. Lazy loading also gives the user the impression that your images are loading fast, but the user’s browser images will load first, keeping the next positions for other images until the user scrolls down to the entire section. And of course it will significantly reduce page load time.
However, lazy loading is a popular and great technique on its own, but it will work even better when paired with the given image optimization techniques. It is now made easy with a WordPress site with the Smush plugin.
Frequently Asked Questions:
1. Is image optimization important for websites? Why?
There are many reasons why Image optimization is crucial because it reduces page load times, improves user experience, decreases bounce rates, and positively impacts SEO rankings. Optimized images load faster and consume less bandwidth without sacrificing quality.
2. What is the best way to optimize images for the web?
The best approach includes resizing images to proper dimensions, compressing them using tools like Image Optimizer Pro, choosing the right format (e.g., WebP or AVIF), and enabling lazy loading for non-critical visuals.
3. How does image size affect website performance?
Larger image sizes increase page load time, use more bandwidth, and can slow down the overall performance of a website, especially on mobile networks. This leads to poor user experience and potential SEO penalties.
4. How to compress images without losing quality?
Use "lossless compression" tools like Image Optimizer Pro. These tools reduce file size while preserving the original image quality. Also, avoid uploading unnecessarily large image dimensions.
5. What is the best image size for a website?
Ideal image sizes vary by placement, but common standards include:
- Hero images: 1200–1600px wide
- Thumbnails: 150x150px
- Blog images: 800–1200px wide
- Always match the image size to the display container to avoid scaling in-browser.
6. How to optimize images for faster website loading?
- Resize images to the actual display size
- Use appropriate formats like WebP
- Compress images efficiently
- Enable lazy loading
- Serve images via CDN for faster delivery
7. How image size affect website speed?
Larger images take longer to download, increasing time to first paint (FCP) and total page load time. This affects both user satisfaction and search engine rankings, especially on slower devices or connections.
8. How to choose the right image format for the web?
- Use JPEG for photos with many colors
- Use PNG for transparent or simple images
- Use WebP or AVIF for modern, high-quality compression with smaller sizes
- Use SVG for logos and vector graphics
9. Can optimized images improve SEO and page speed?
Yes. Optimized images load faster, reduce bounce rates, and improve Core Web Vitals, all of which directly affect and improve your site's SEO. Search engines prioritize websites that load quickly and provide better user experiences.
Ishan Makkar
He is a web performance specialist with hands-on experience optimizing websites for speed, media efficiency, and user engagement. As the founder of Website Speedy and Image Optimizer Pro, he has helped businesses across multiple industries improve load times, strengthen SEO, and reduce bounce rates. His work focuses on creating reliable, data-driven optimization solutions that deliver measurable results and build long-term digital trust.